Two posts ago we’ve told something about JMeter, we’ve installed JMeter and conducted a simple performance test. In this post, we will jump to API Testing using Postman but from the beginning.
What is API?
API is the acronym for Application Programming Interface. It is a software intermediary that allows two applications to talk to each other.
Each time when we use an app like Facebook, send an instant message or check the weather on our phone, we’re using an API.
What is API testing?
API testing is a type of software testing which includes testing APIs directly and as part of integration testing.
Why do we test API?
We test API to determine if they meet expectations for functionality, reliability, performance, and security.
What are most popular tools for API testing?
As far as we know what is API testing and why do we test API, we can tell ourselves about the most popular tools for API Testing. Here is the list:
- SoapUI
- Katalon Studio
- Postman
- JMeter
- Paw
We’ve told in the last post about performance testing with JMeter but JMeter can be used for API testing as well. This time we will focus on the Postman tool, which is a very good tool for API Testing.
How to install Postman?
We can use Postman both online and download the app to our desktops.
For using Postman app we need to download the app from the official Postman website.
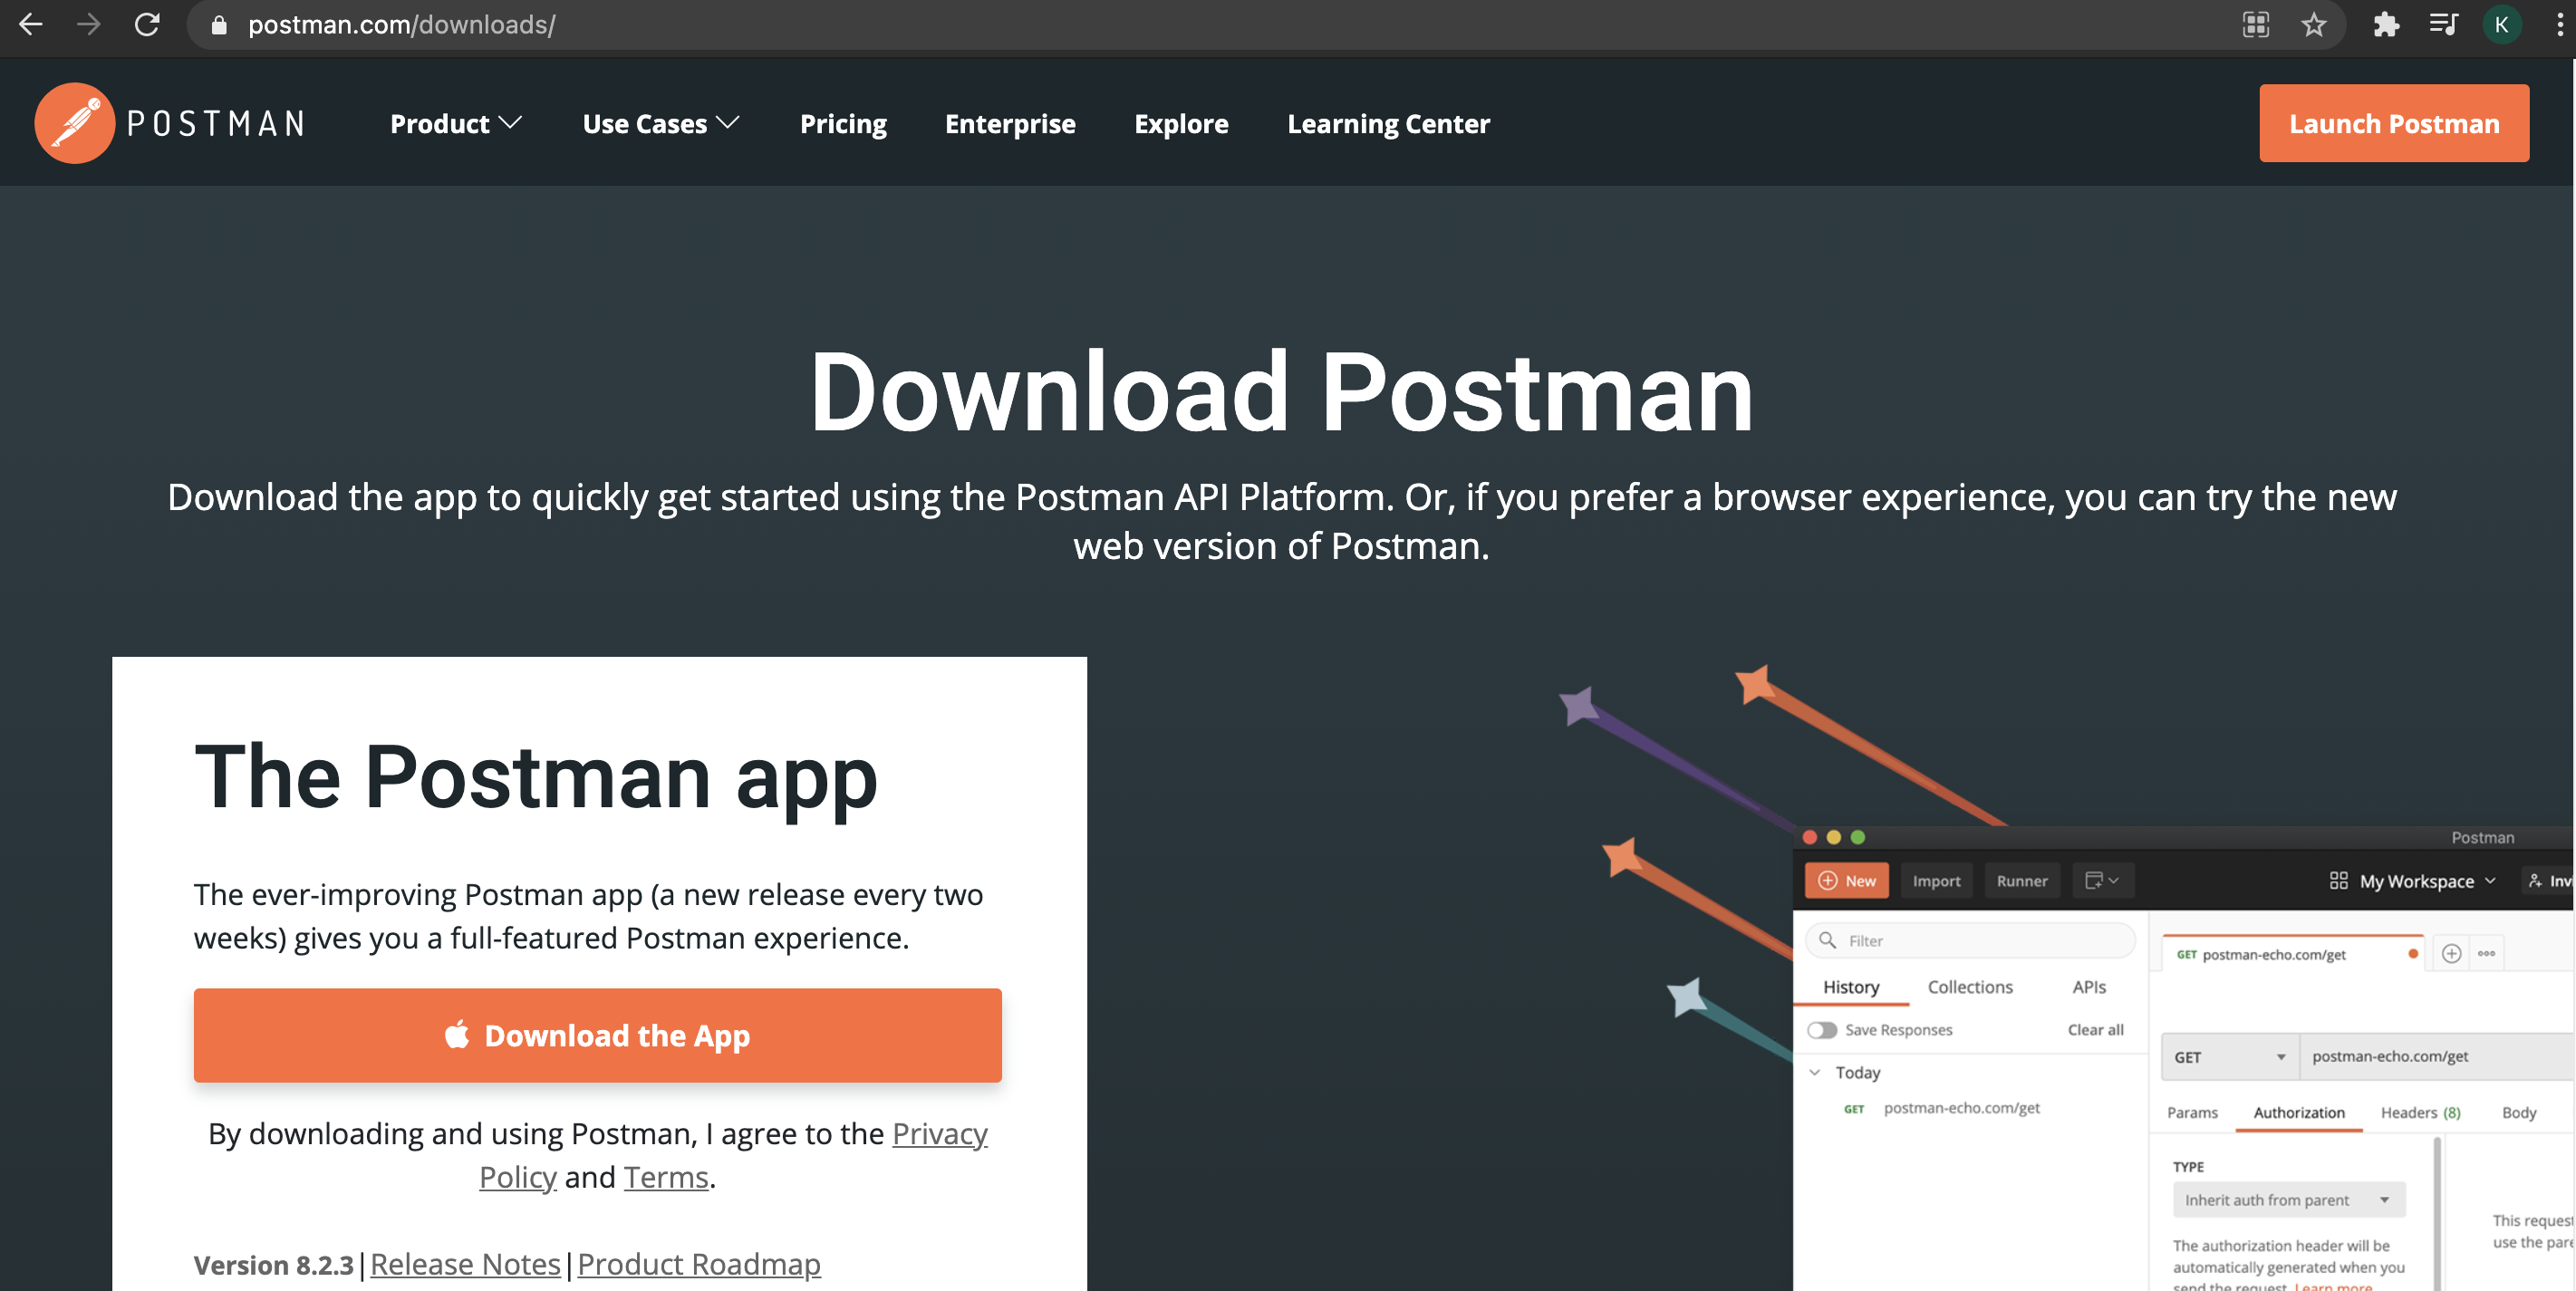
Once we’ve clicked the Download App button, the app will be downloaded in .zip format.
Now we can open the app.
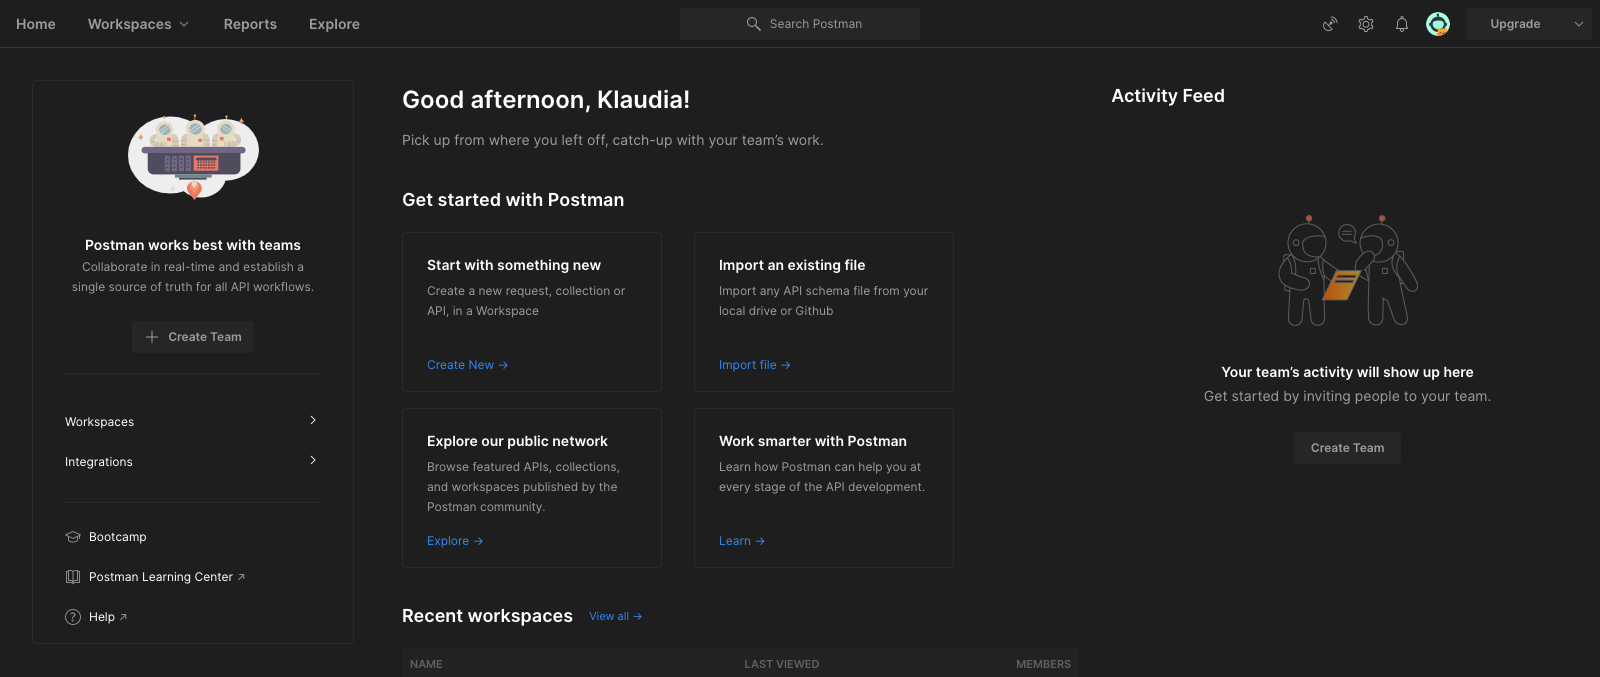
We can take a look on the top left corner, there are from left: Home (Dashboard), Workspaces (List of workspaces), Reports (online) and Explore (the API Network), Search Postman, Capture Requests and cookies with Postman, settings, notifications manage accounts and upgrade option.
Now we can create a collection in Postman (replacement of Thread Group in JMeter).
We will create a collection which will include weather description of cities on their own languages using Open Weather API. We will use CSV File as a source of data and variables to put them into the URL address.

Once we’ve created the collection we can see the items under the name: Authorisation (we can input the API Key, Bearer Token, etc.), Pre-request script, Tests, and variables. This last one we will use just now to create the variable of the URL address and 3 more variables which I will explain soon.

We’ve created the variables and now we will upload the CSV File to our collection. CSV Files is the file that includes data to input them into the file. It’s easier than inputting the data manually.
We can create CSV file for example in Microsoft Excel and save it in CSV format.
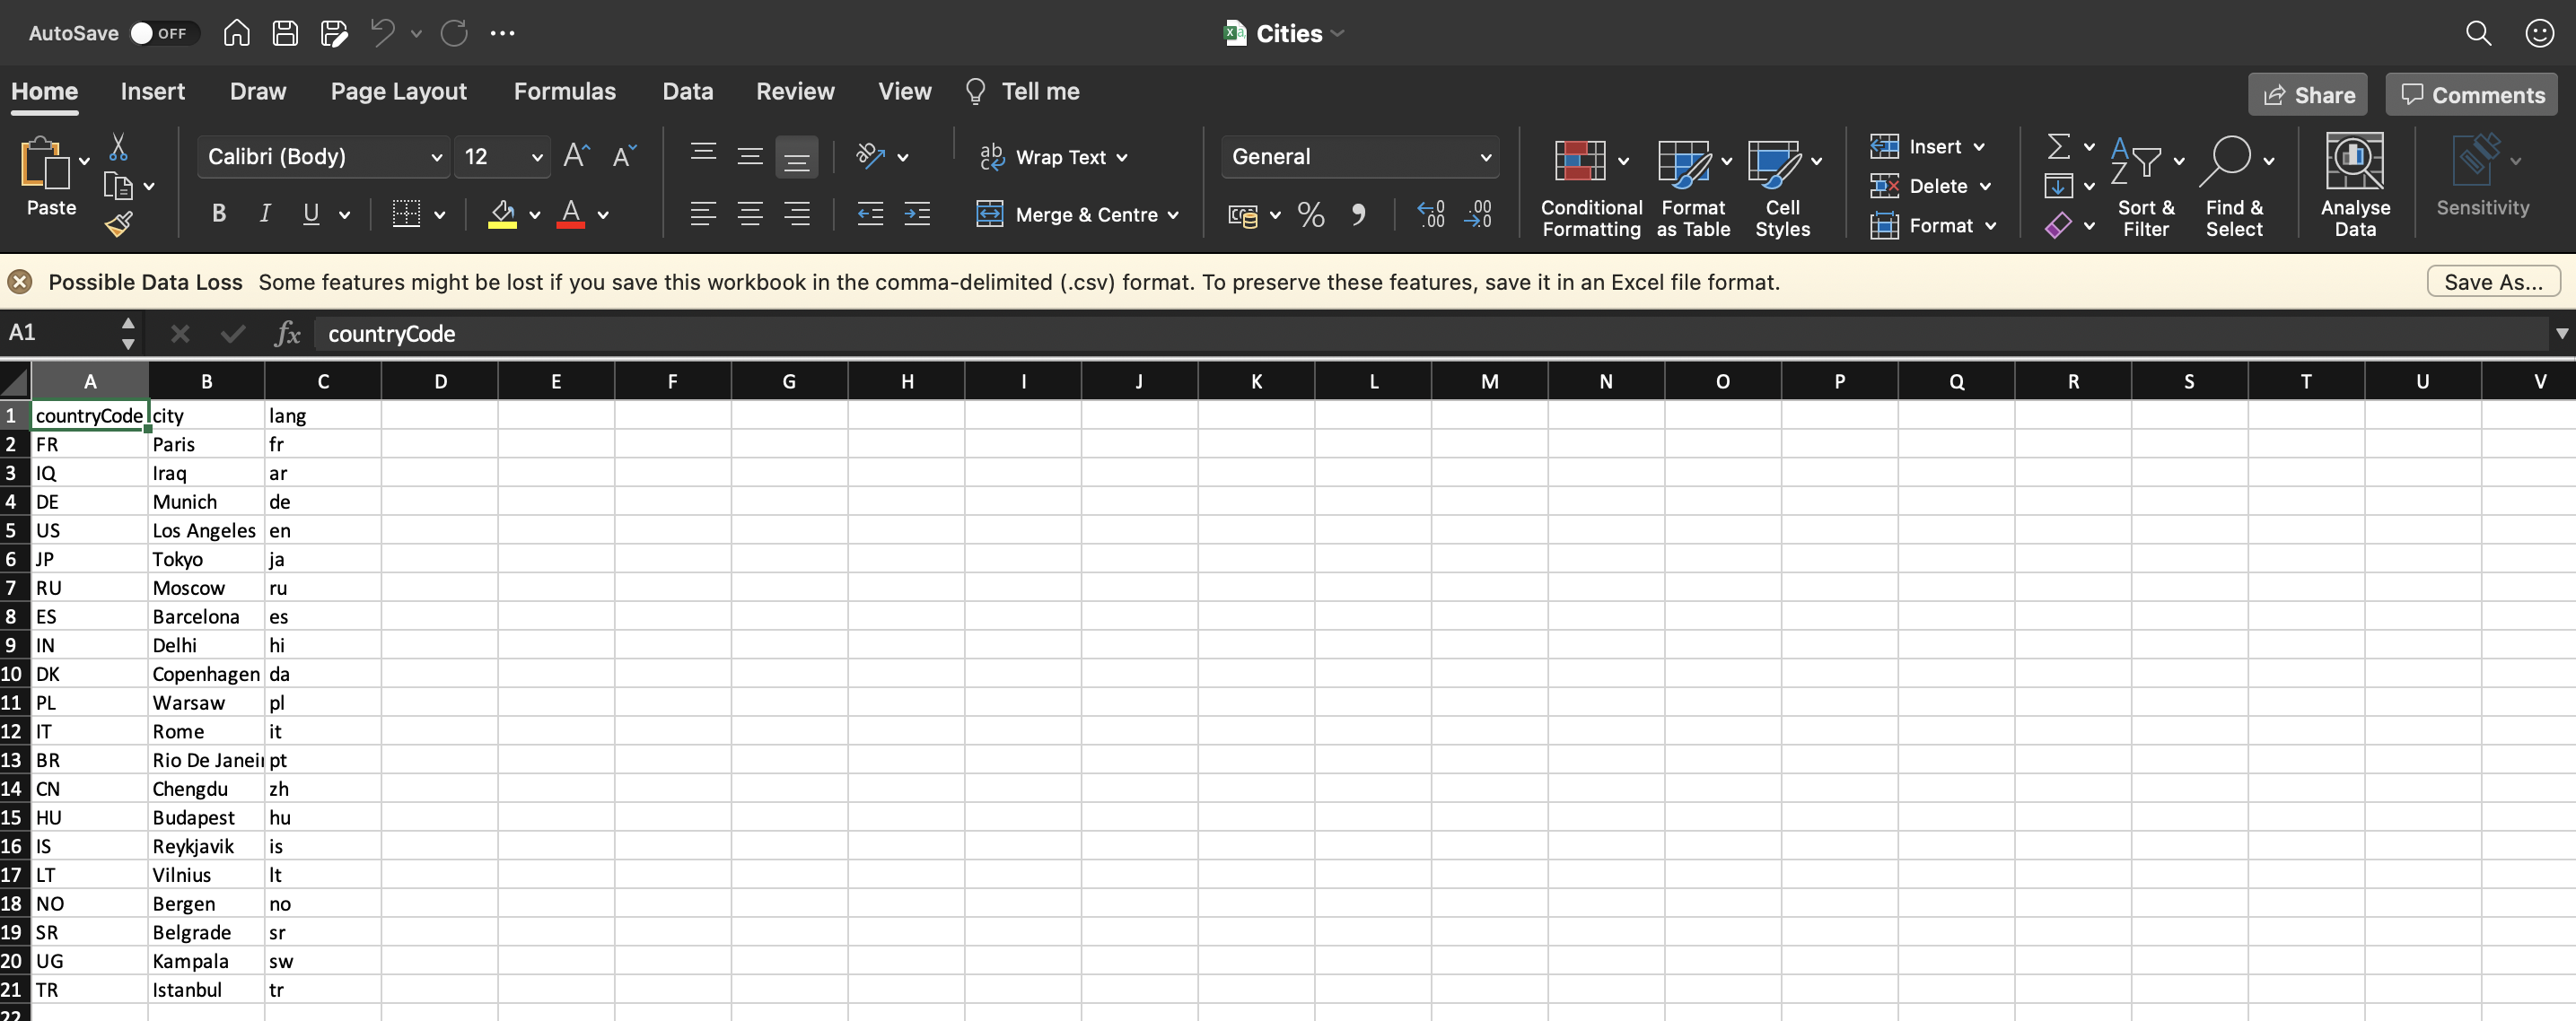
In the first line of the CSV file, we will find our variable names, which we will use in Postman to put data into URL address.
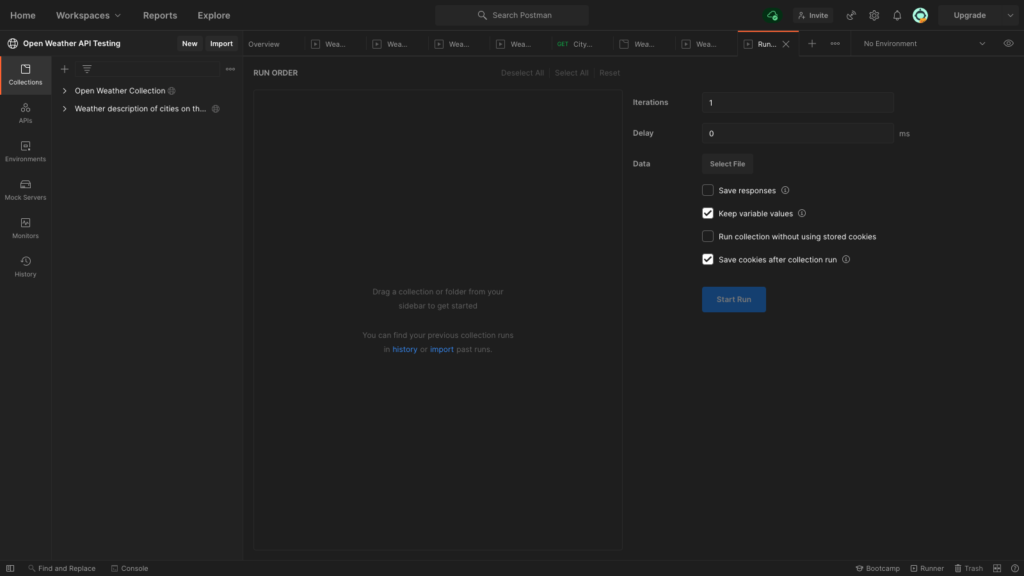
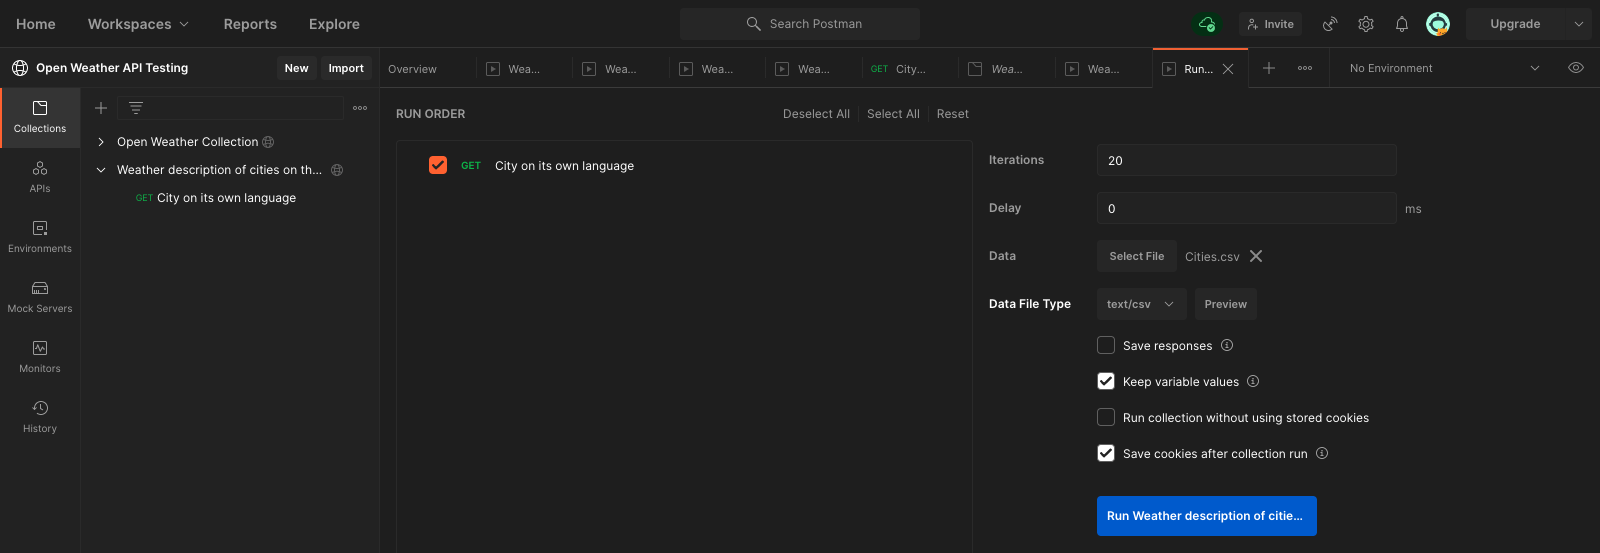
To do that we need to click Runner on the bottom. We’re choosing the file by clicking the Select file next to Data label and we’re selecting the CSV file.
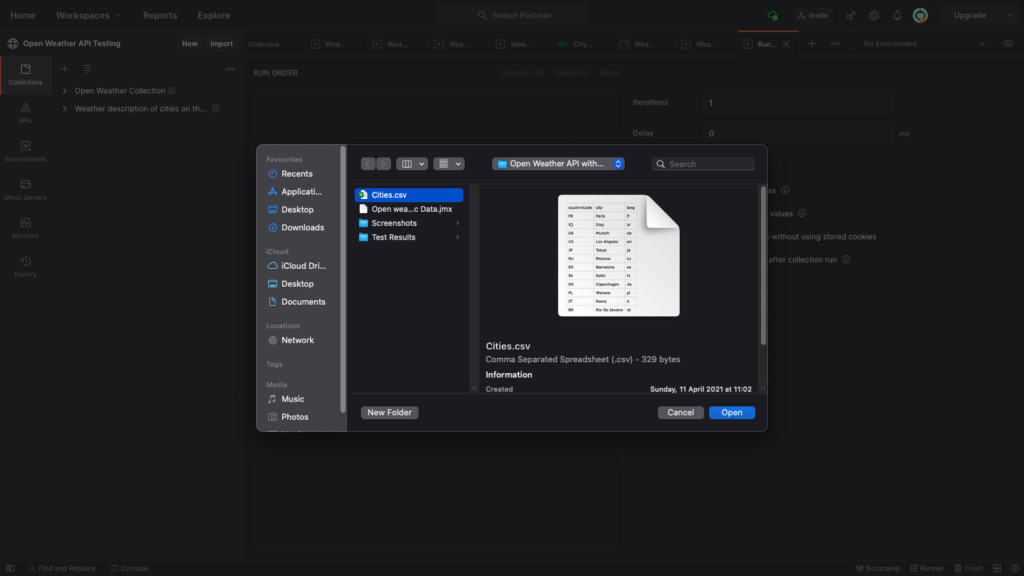
We’ve uploaded the file in our Collection Runner and we can see that Iterations number has changed to 20, because we have 20 cities in the list.
Now we can create the request by clicking Add Request.

After the adding request, we can see the Method selection (GET, POST, PUT, PATCH, DELETE, etc.), URL address, and SEND button. Under it, we can spot the Params (adding the params to query), Authorisation (the same as in Collection), Headers (in receiving responses), Body, Pre-request Script, Tests, and Settings.

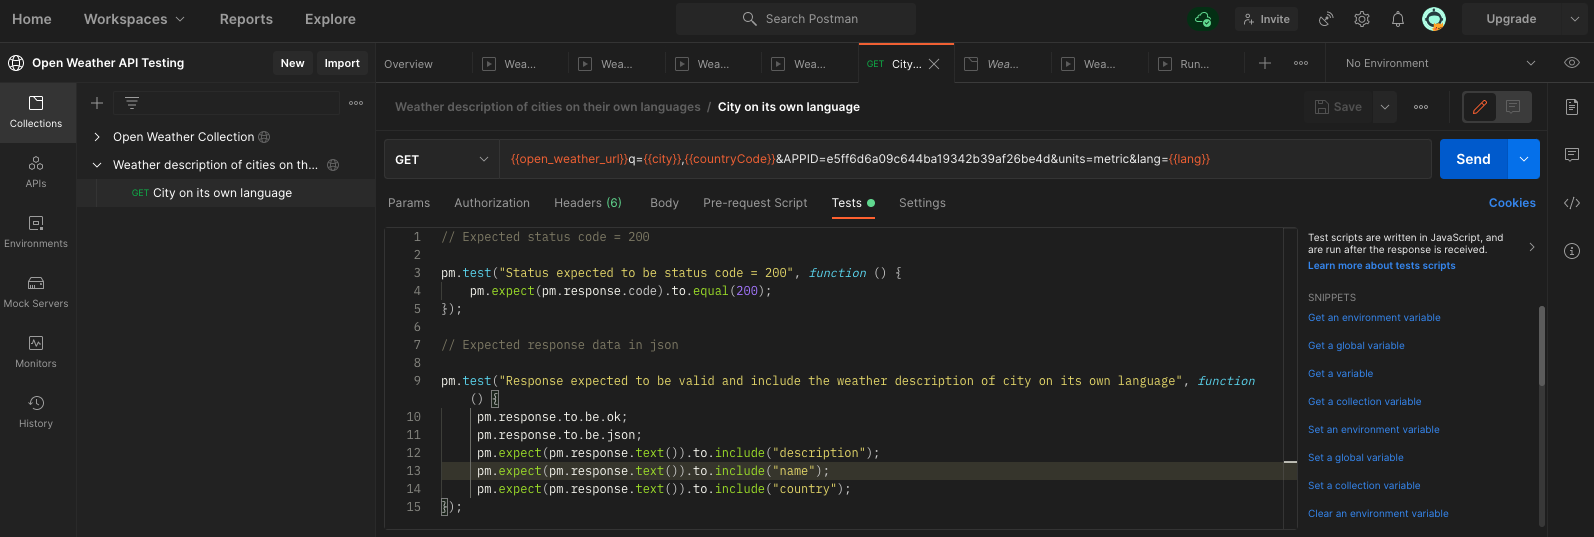
We will choose the GET method. We will also input the variable called: {{open_weather_url}} which contains the URL Address, {{city}} and {{countryCode}} in q as city and country code, APPID with API key, metric as units and {{lang}} as language.

Once we’ve inputted the URL address, we can write the tests (replacement of Response Assertion in JMeter).

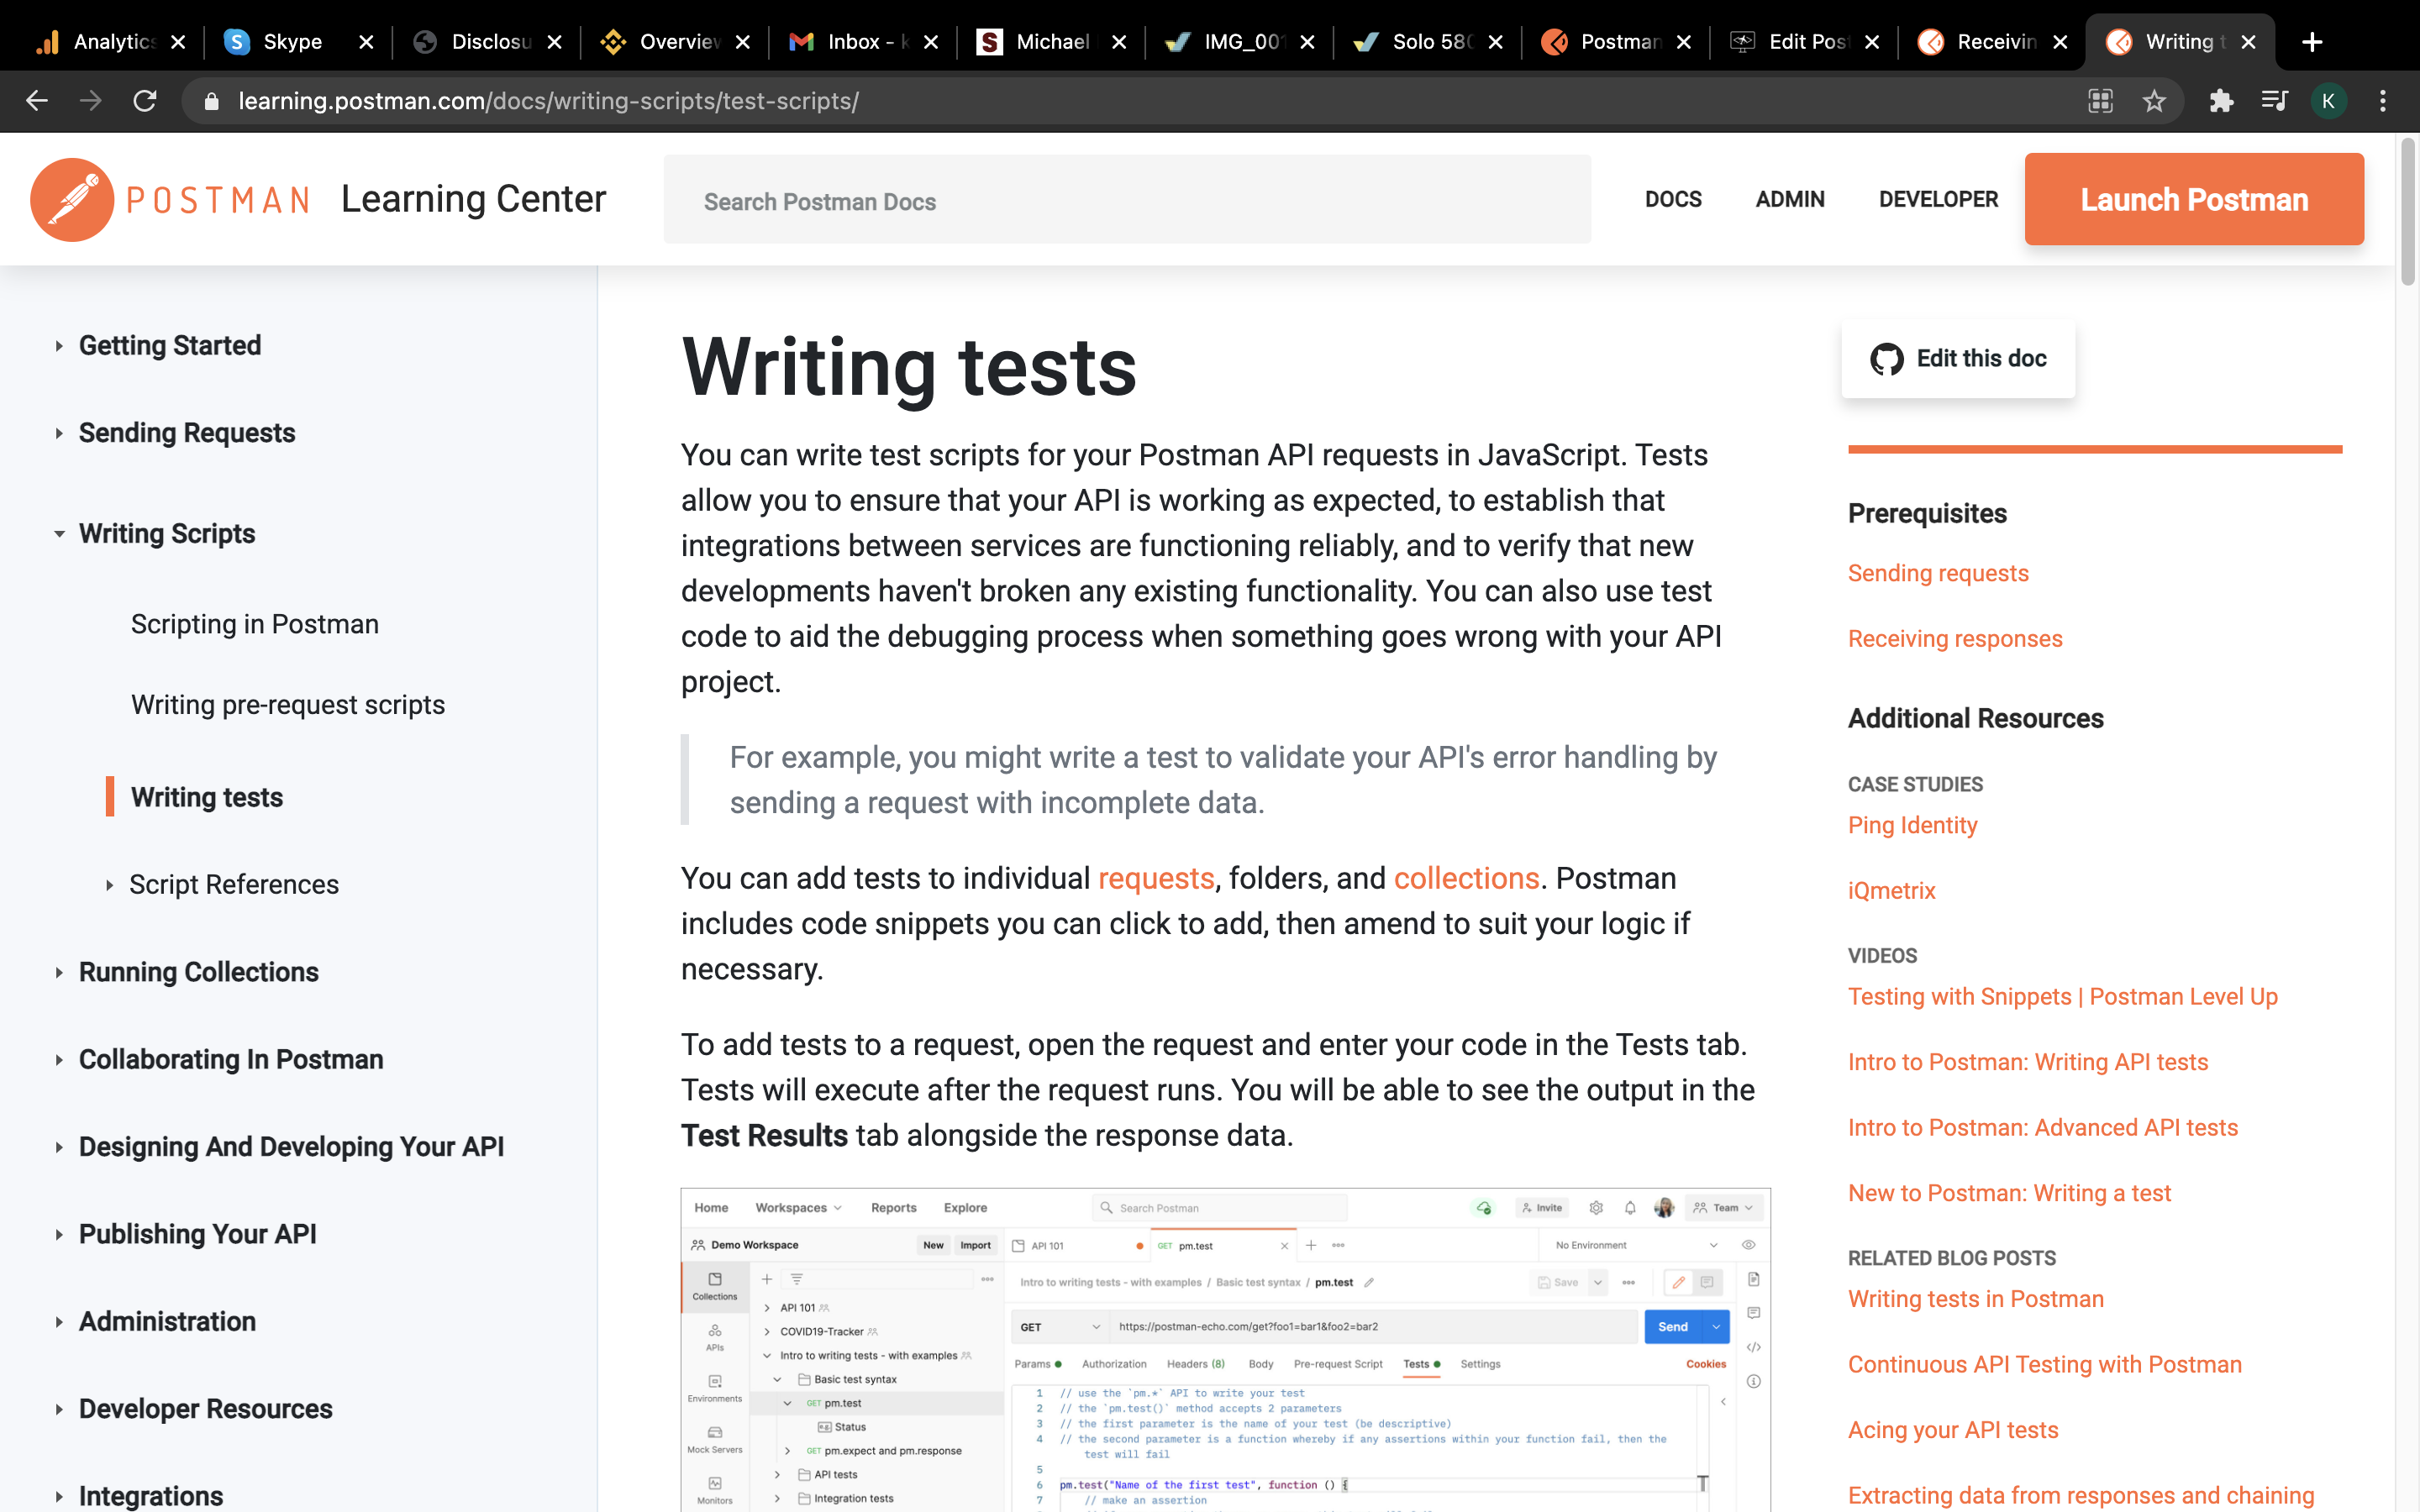
We can visit the Postman Learning Center to learn how to write the tests in Postman.
We want the expected status code equal to 200 and response in JSON format which includes weather description of the city in its own language. To do this we will need to include “description“, “name” and “country“.
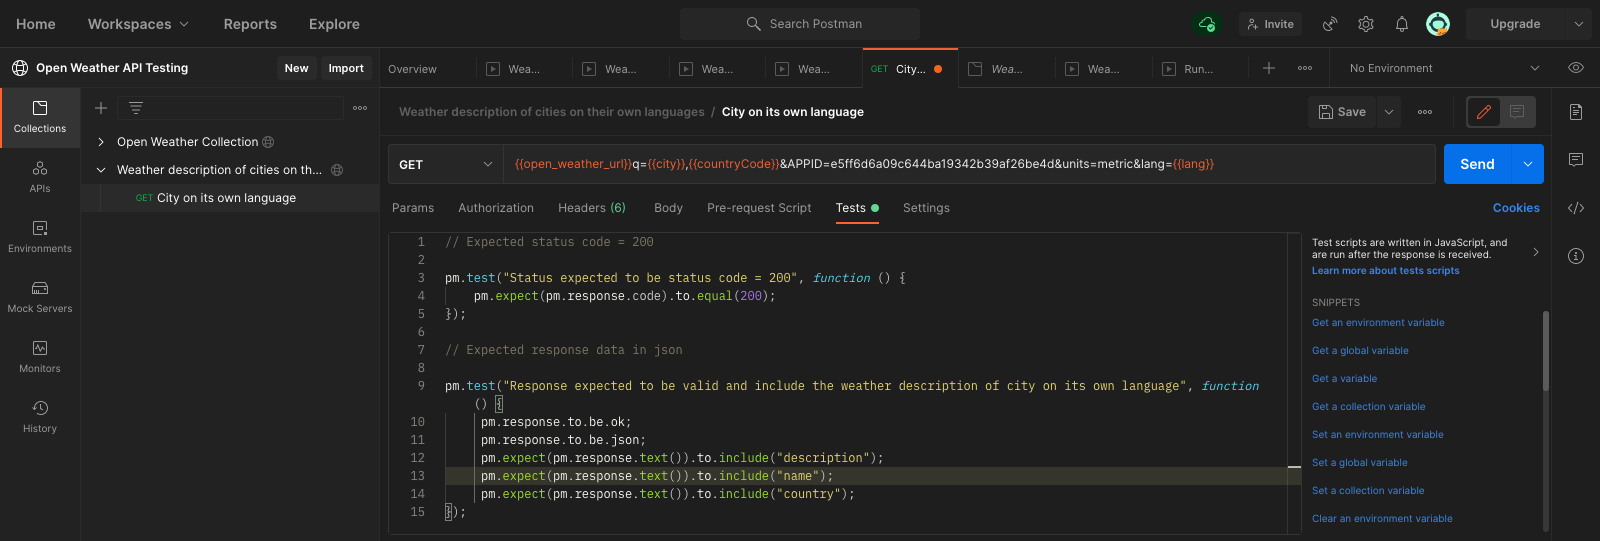
Now we can send our request to check if is it working properly and our tests are passed.
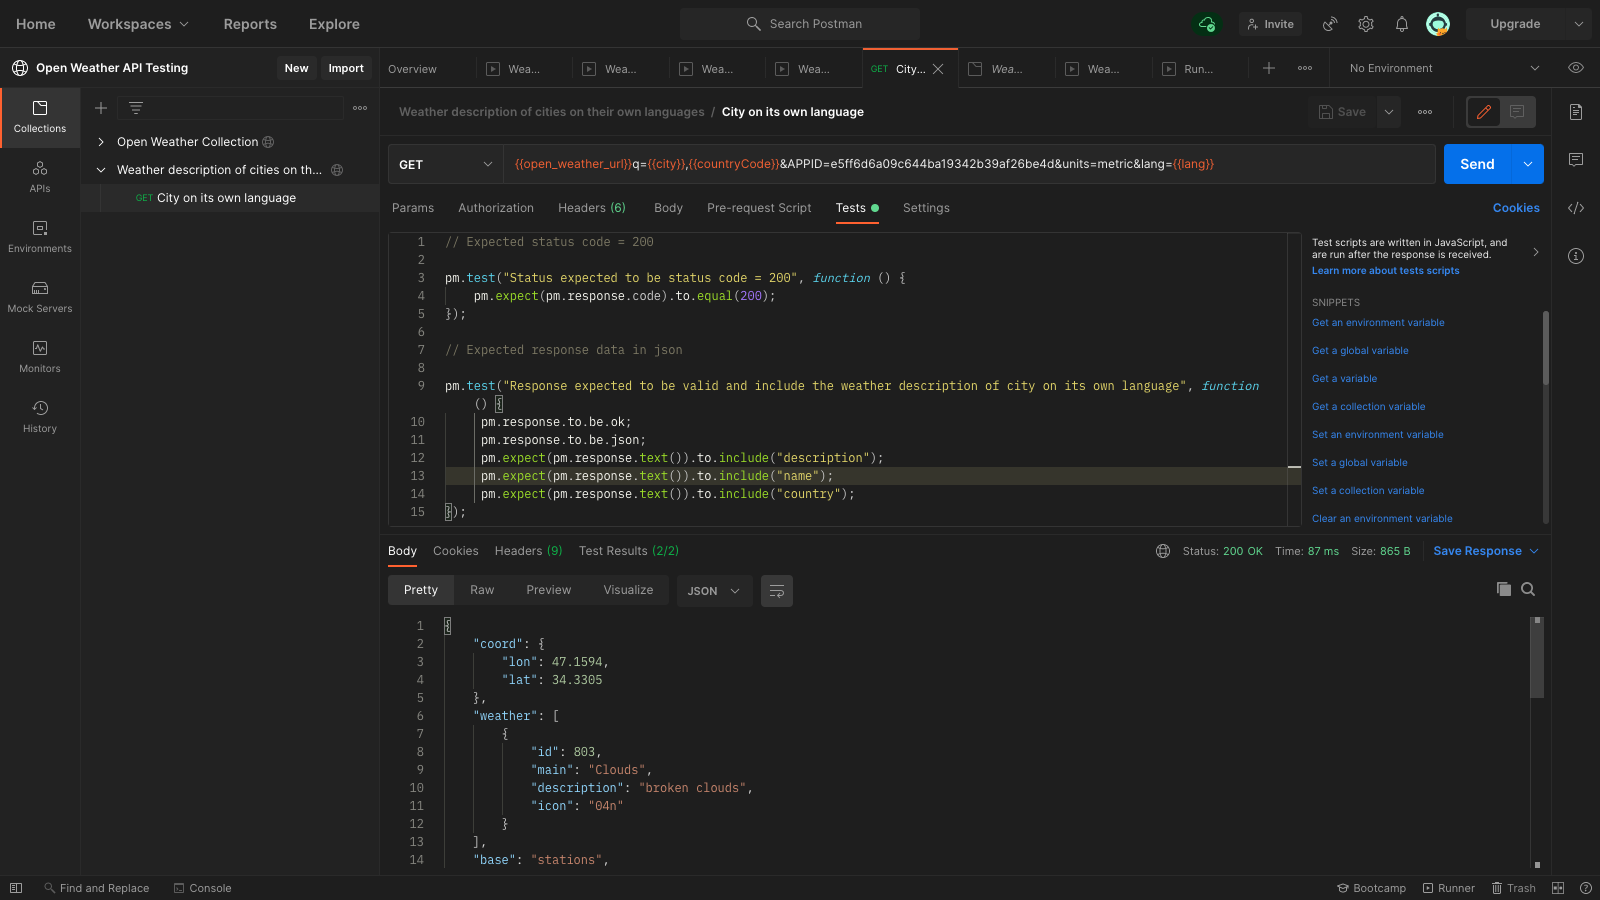
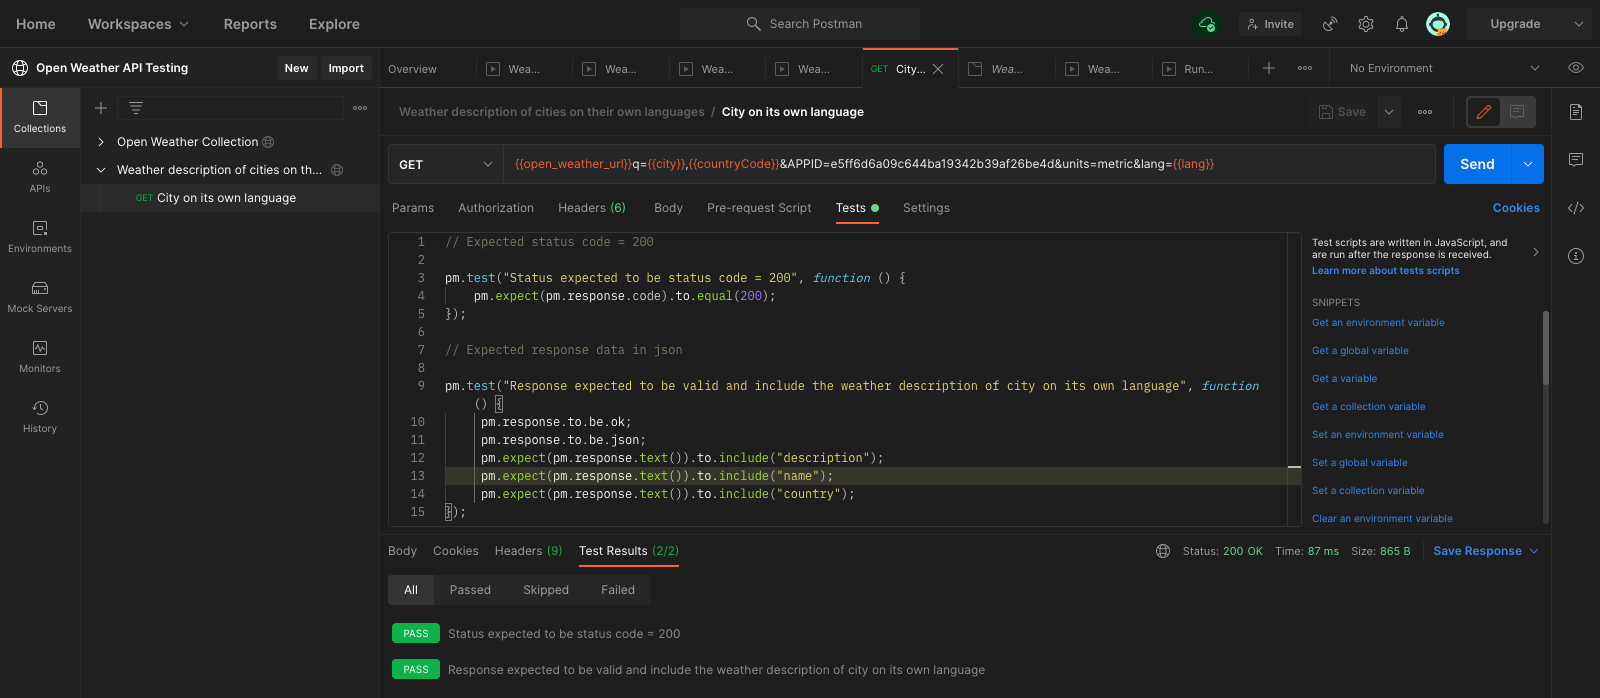
Great! Our tests are passed. Now we can run the script for 20 cities and see the results. Once we’ve opened the Runner we can drag and drop the request to test and click Start Run.
We can also view summary of the tests by click View Summary button.

We may Run the test again (Run Again), test New script (New) and export test results (Export Results).
As we can take a look both at test results and summary, we can see 19/20 tests are passed, and the 18th iteration status is failed. That means our test coverage is equal to 95%.
We may also use Postman online if we’re not preferring the app.
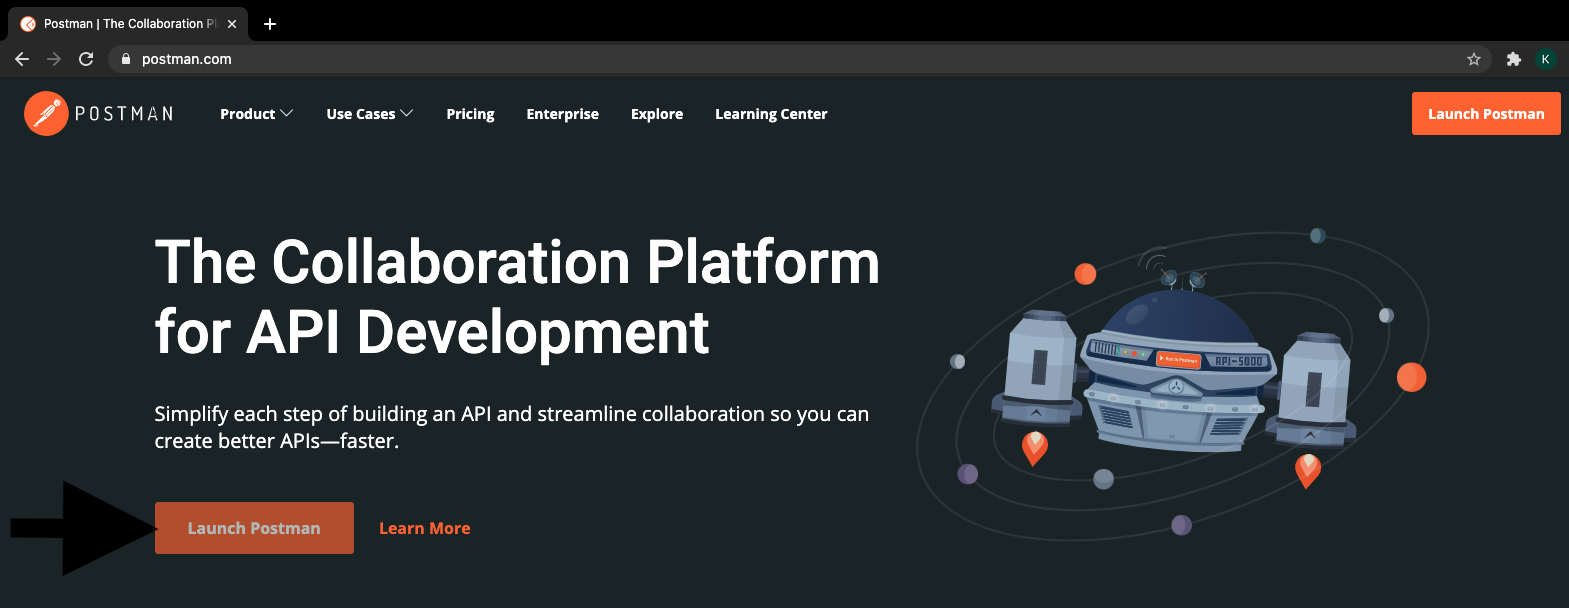
To launch the Postman online we need to reach the official Postman website and click Launch Postman button.
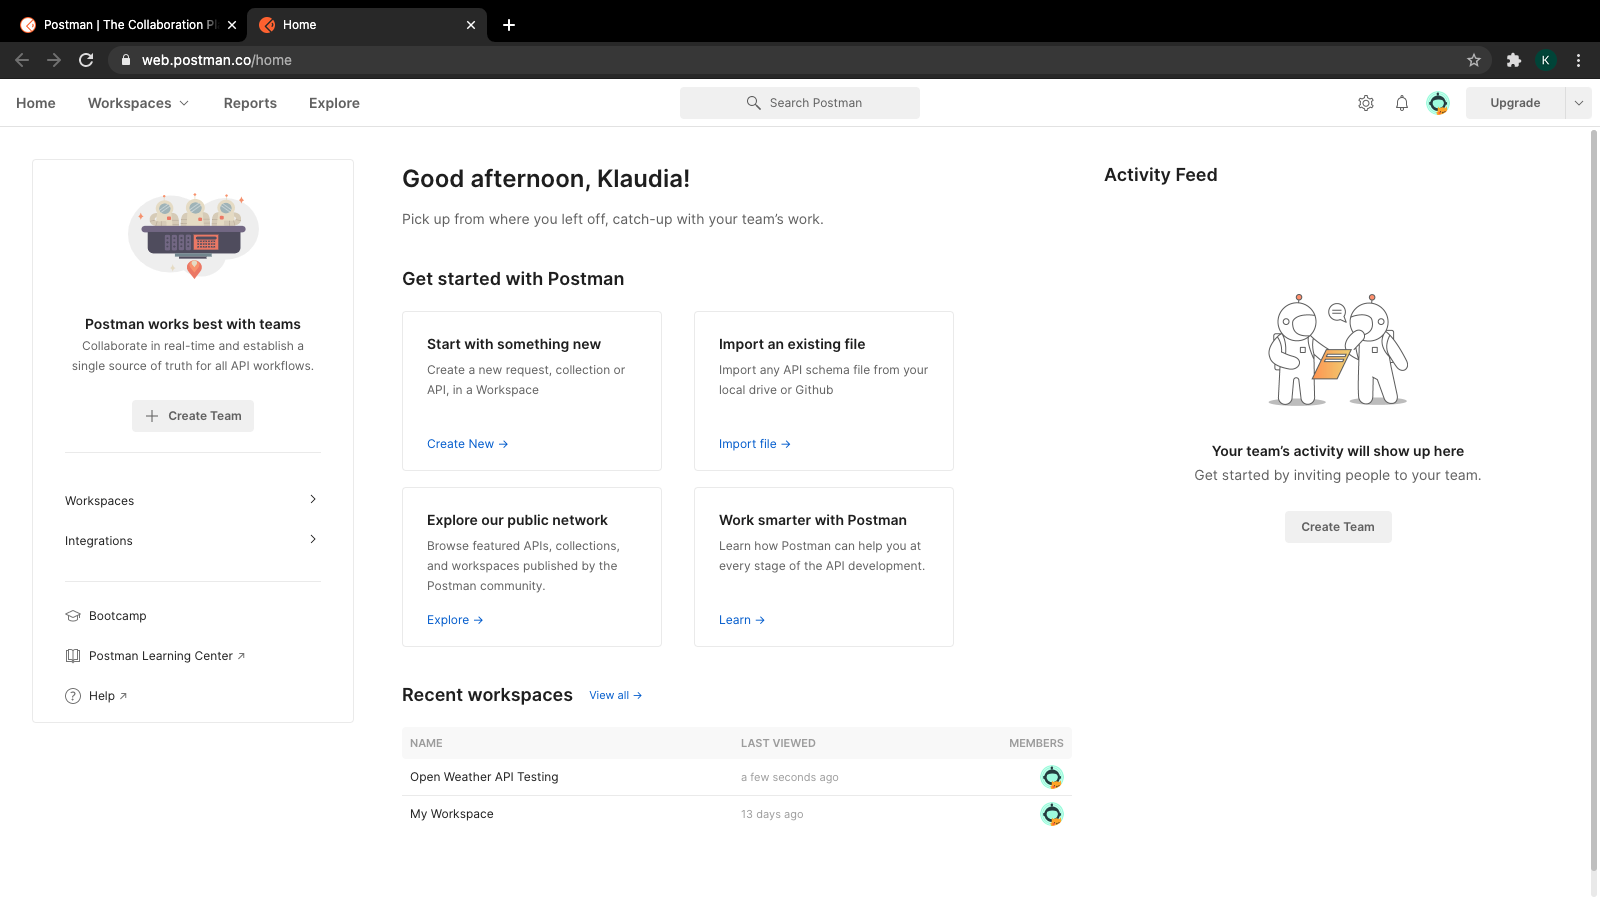
The functions and using online are the same as in the app.
Now we know what is Postman and what can we do with it Moreover, we got knowledge about Postman functions. We’ve installed Postman App and explained the Postman components by doing the example.
I hope you’ve enjoyed the article and found some inspirational information.
The next post will arrive soon 🙂


